Best iPhone Camera Settings for Instagram
Introduction
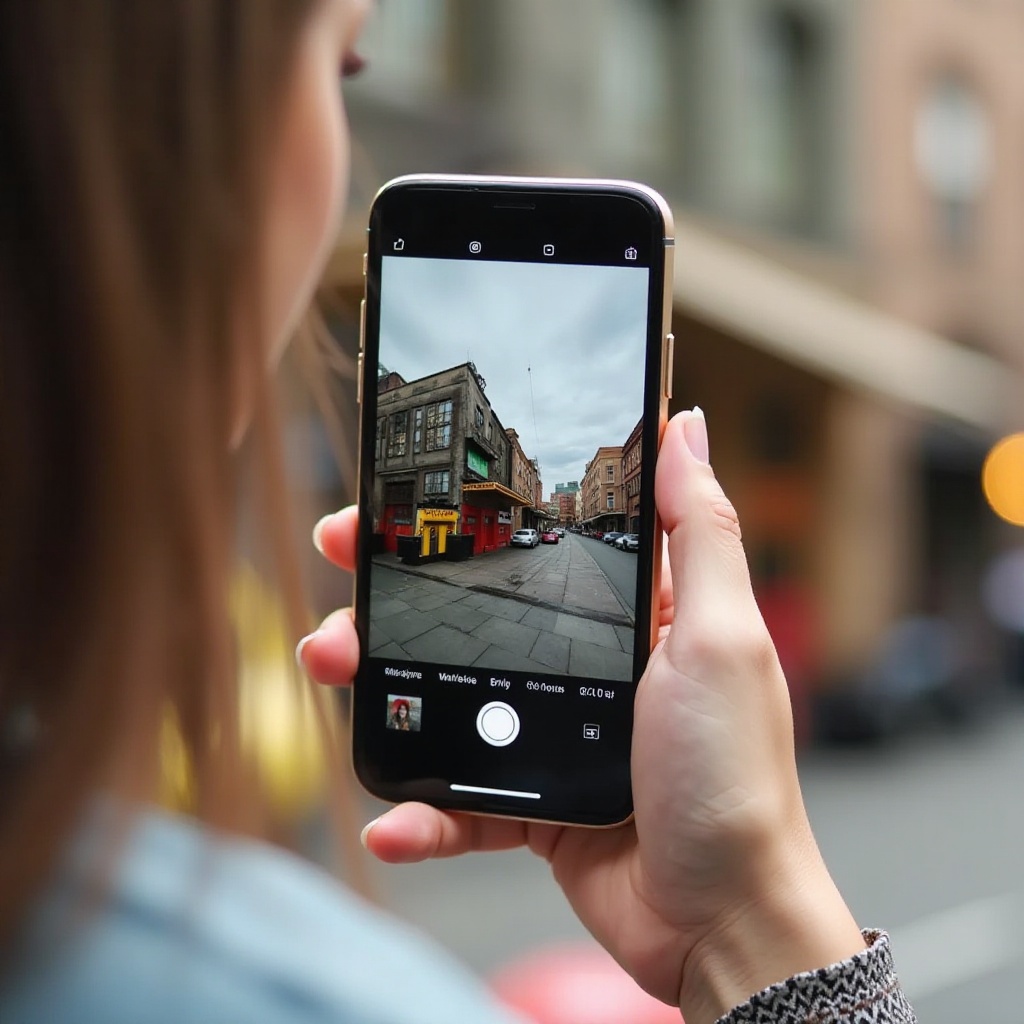
Capturing the perfect shot for Instagram is a mix of artistry and know-how. With the right iPhone camera settings, your photos can go from ordinary to breathtaking, catching the eye and garnering likes. It’s essential to understand which settings to tweak to elevate your photography game. This guide aims to walk you through the necessary steps and settings on your iPhone to capture that perfect Instagram-worthy photo. Whether you’re a beginner or a pro, these tips will help you create pictures that pop on the feed.

Preparing Your iPhone Camera
Before diving into the settings, ensure your iPhone is ready to go. Clean your lens regularly with a microfiber cloth to avoid blurry images caused by smudges. Consider a protective case that doesn’t interfere with the camera. Software updates can also significantly impact camera performance, so keep your device updated to the latest iOS version.
Check your storage. High-resolution photos and videos take up more space, and you don’t want to run out of storage mid-shoot. Clear out old media or use cloud services to free up space. Backup important data so that you can easily delete and add new files without worry.
Once these preparatory steps are in place, you’re ready to delve into the essential camera settings that will make your photos Instagram-ready.
Essential iPhone Camera Settings
Camera Resolution and Aspect Ratio
The resolution and aspect ratio you choose will affect the photo quality and composition. The iPhone camera typically offers a range of resolutions, including 4:3 and 16:9. For Instagram, aim for the highest quality setting available, which ensures your images remain sharp even after uploading.
Enabling Grid Lines
Grid lines are invaluable for achieving balanced compositions. Go to Settings > Camera and enable the Grid option. These lines help you apply the Rule of Thirds, a fundamental principle in photography that can dramatically improve your shots’ aesthetics.
Activating HDR
High Dynamic Range (HDR) combines multiple exposures into a single image, capturing a broad spectrum of light and dark. Enable Smart HDR through Settings > Camera. This feature is especially useful in scenes with high contrast, such as outdoor photography in bright sunlight.
Advanced Camera Settings for Stunning Shots
Once you have the basics mastered, it’s time to explore advanced settings that can really enhance your photos. These settings will allow you greater creative control over your images.
Exposure Control
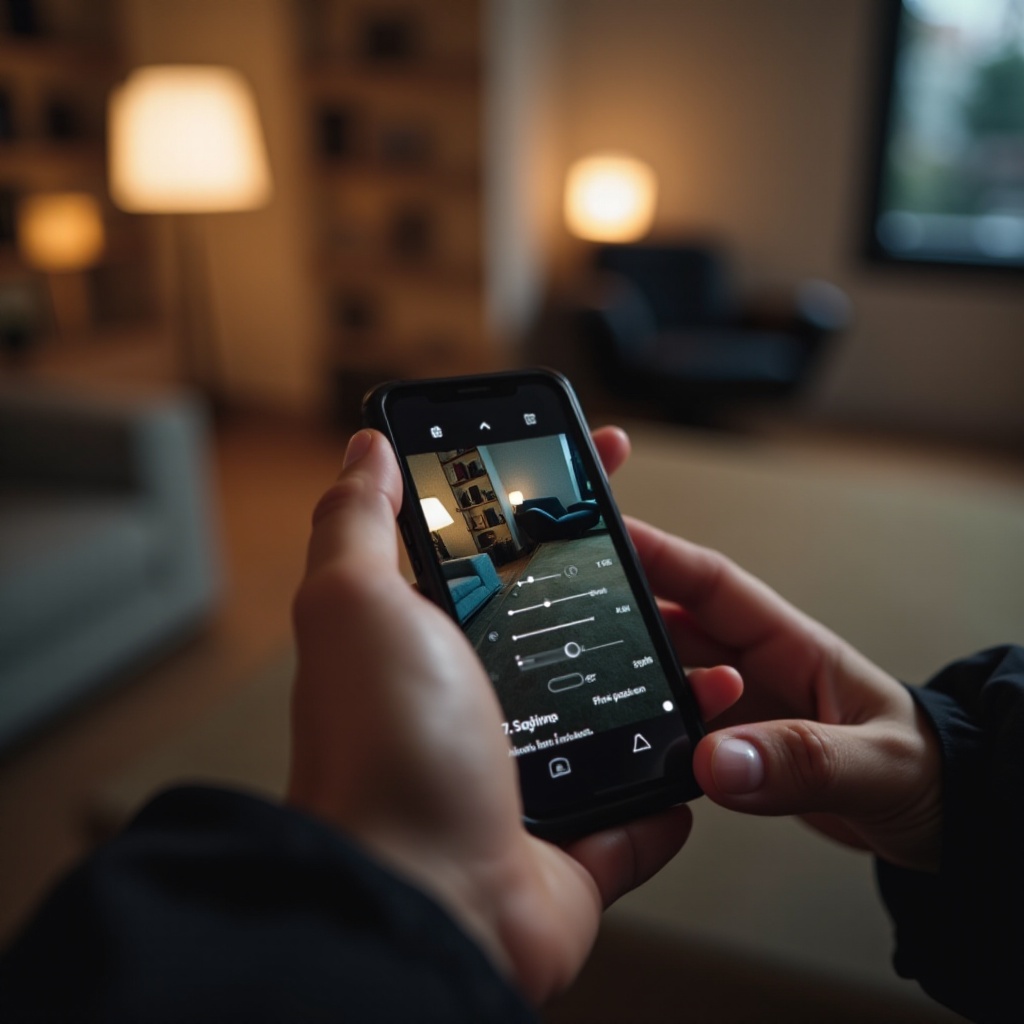
Proper exposure is key for capturing well-lit photos. Tap on the screen to set focus, and slide your finger up or down to adjust the exposure. This manual control allows you to brighten or darken the image to your preference.
Manual Focus Adjustment
Although the iPhone camera auto-focuses on the primary subject, manual adjustments can offer more creative control. Tap the screen where you want the focus to be. This is particularly useful for playing with depth of field, making one part of your photo stand out sharply against a blurred background.
Using Night Mode
Night Mode is a game-changer for low-light photography. It kicks in automatically in darker conditions but can be manually adjusted via the moon icon. Use it to capture clear and vibrant photos at night or in dim settings.
Camera Modes for Different Instagram Styles
Different Instagram feeds call for different styles and techniques. iPhone offers several camera modes to suit these varied needs.
Portrait Mode
Portrait Mode is perfect for highlighting a subject against a beautifully blurred background, ideal for profile pictures or artistic shots. Use the depth control to adjust the level of blur, creating a professional-looking photo.
Panoramic Mode
Use panoramic mode for wide, sweeping landscapes. Hold your iPhone steady and follow the on-screen instructions to capture stunning, elongated images. This is great for travel shots or showcasing large venues.
Slow-motion Videos
For a dramatic effect, switch to Slow-motion mode. This can capture high-speed actions in captivating detail. Perfect for everything from sports to a droplet falling – add some flair to your Instagram Stories.

Editing Your Photos for Instagram
Even the best raw photos often need a bit of tweaking to reach their full potential. Editing is a crucial step in the process.
Built-in Editing Tools
iPhone’s native Photos app offers basic editing tools, such as crop, exposure tweaks, and color adjustment. Use the 'auto-enhance' feature for a quick fix, then dive deeper into specific settings if needed.
Recommended Third-party Apps
While the built-in tools are useful, some third-party apps offer more advanced options. Apps like Adobe Lightroom, Snapseed, and VSCO provide extensive editing features, including layer adjustments, brush effects, and more.
Color Correction and Filters
Correcting color and applying filters can dramatically change the mood of your photo. Make subtle color corrections first—adjust brightness, contrast, and saturation. Then, add filters that complement the rest of your feed for visual consistency.

Conclusion
Mastering the iPhone camera settings ensures your photos stand out on Instagram. From essential setups to advanced adjustments and editing tips, each step enhances your photos’ quality and appeal, reflecting your personal style. Regular practice and experimentation will make you proficient, enabling you to create compelling visuals that captivate your audience.
Frequently Asked Questions
What is the best resolution for Instagram photos?
For Instagram, upload images at a resolution of 1080 pixels wide. This maintains quality while fitting Instagram's display requirements.
How can I improve my iPhone photo quality for Instagram?
Use high-resolution settings, enable HDR, manually adjust focus and exposure, and employ editing tools to enhance your photos.
What are the best editing apps for iPhone photography?
Top recommendations include Adobe Lightroom, Snapseed, and VSCO, each offering advanced editing capabilities to elevate your photos.


